> ## Documentation Index
> Fetch the complete documentation index at: https://docs.getkadabra.com/llms.txt
> Use this file to discover all available pages before exploring further.
# Configure a Trigger
> Choose how and when your flow starts
# Configure a Trigger
A trigger defines **when the flow will run**. Prefer a single trigger per flow.
## Manual run
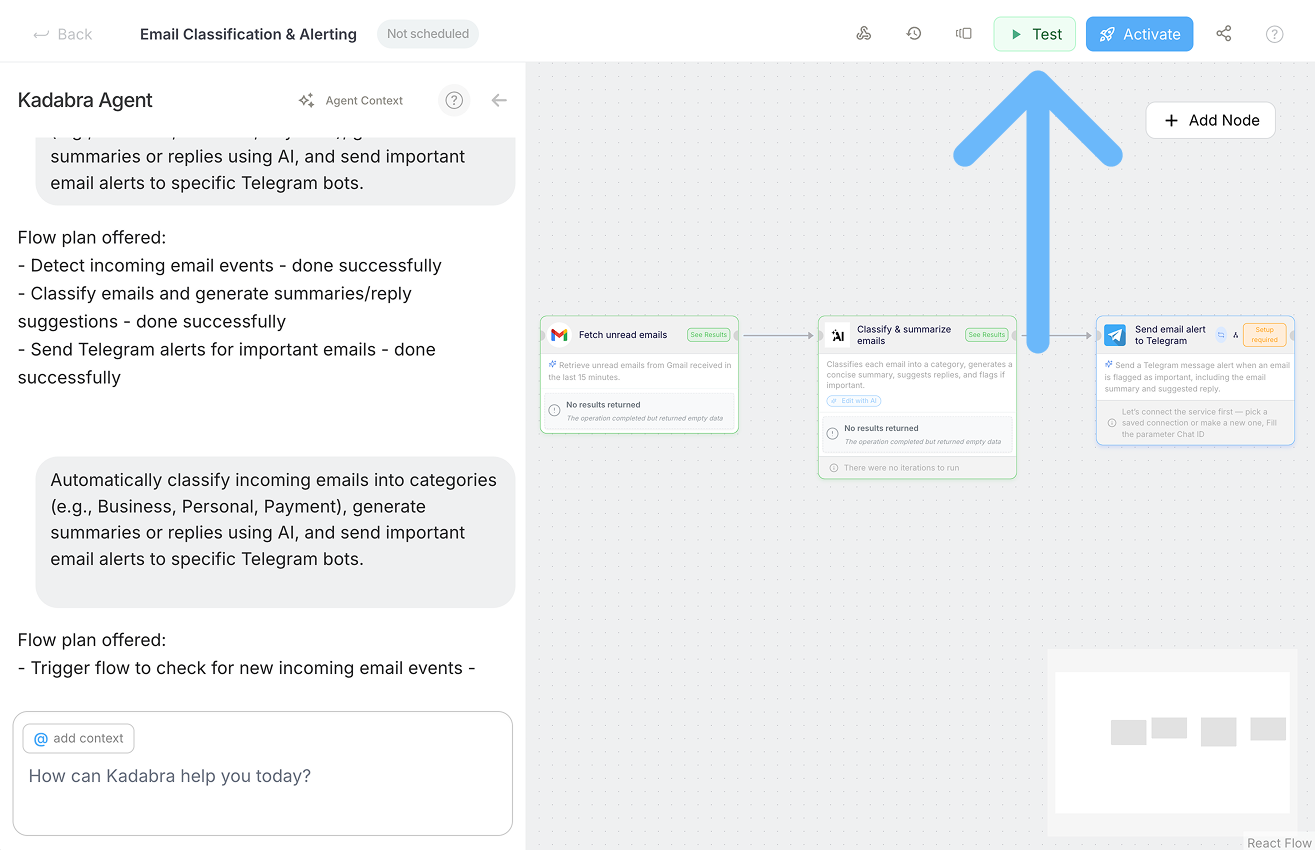 * Use the **Run** button on the Canvas to execute on demand.
* Ideal for testing or internal tools.
## Periodic schedule
* Use the **Run** button on the Canvas to execute on demand.
* Ideal for testing or internal tools.
## Periodic schedule
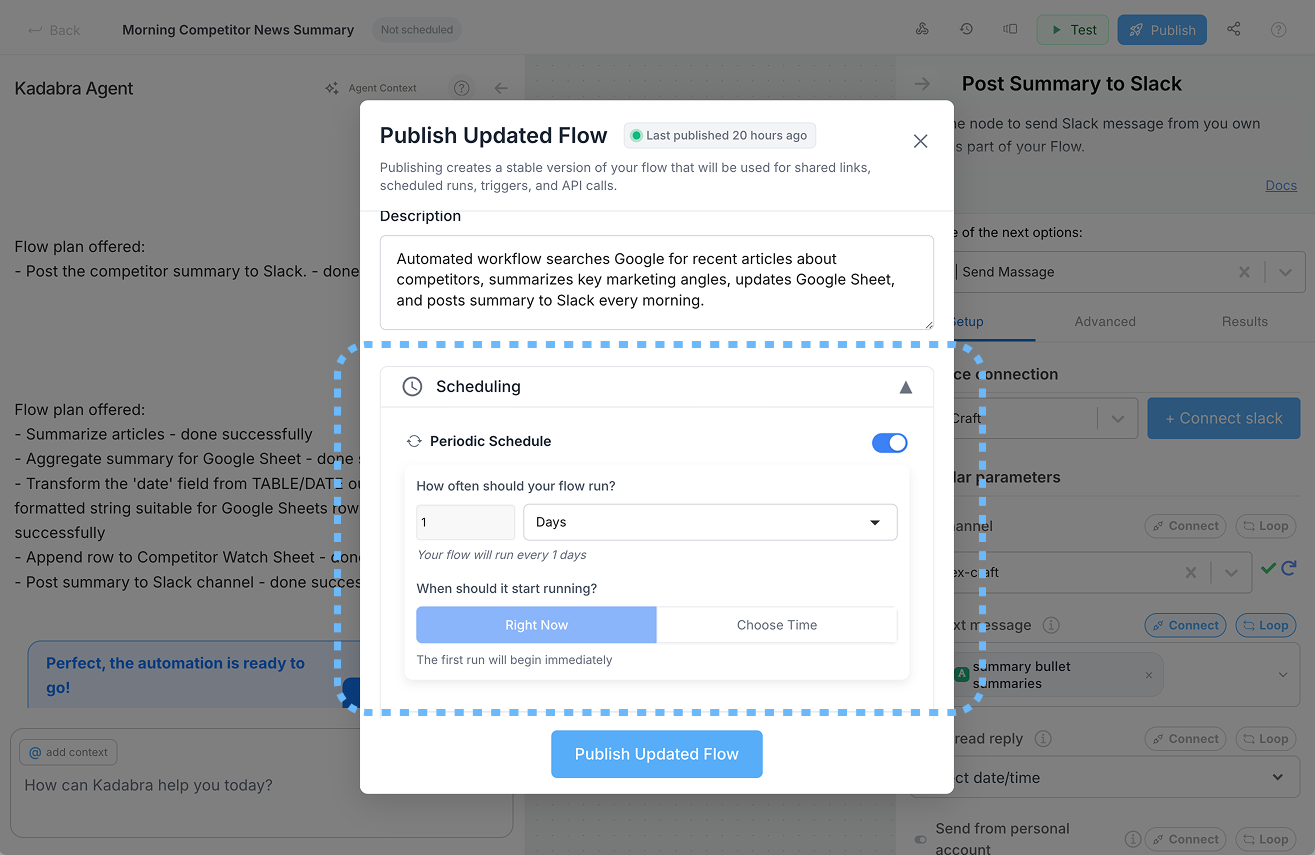 * After you **Publish**, choose a schedule such as hourly, daily, or weekly.
* Great for reports, syncs, and recurring jobs.
## Event based
* After you **Publish**, choose a schedule such as hourly, daily, or weekly.
* Great for reports, syncs, and recurring jobs.
## Event based
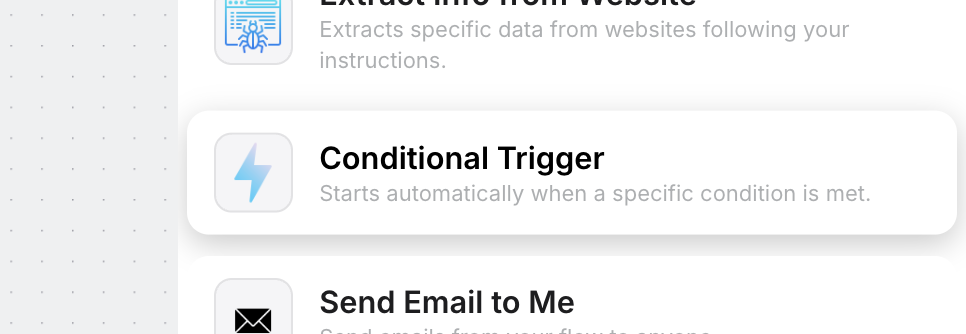
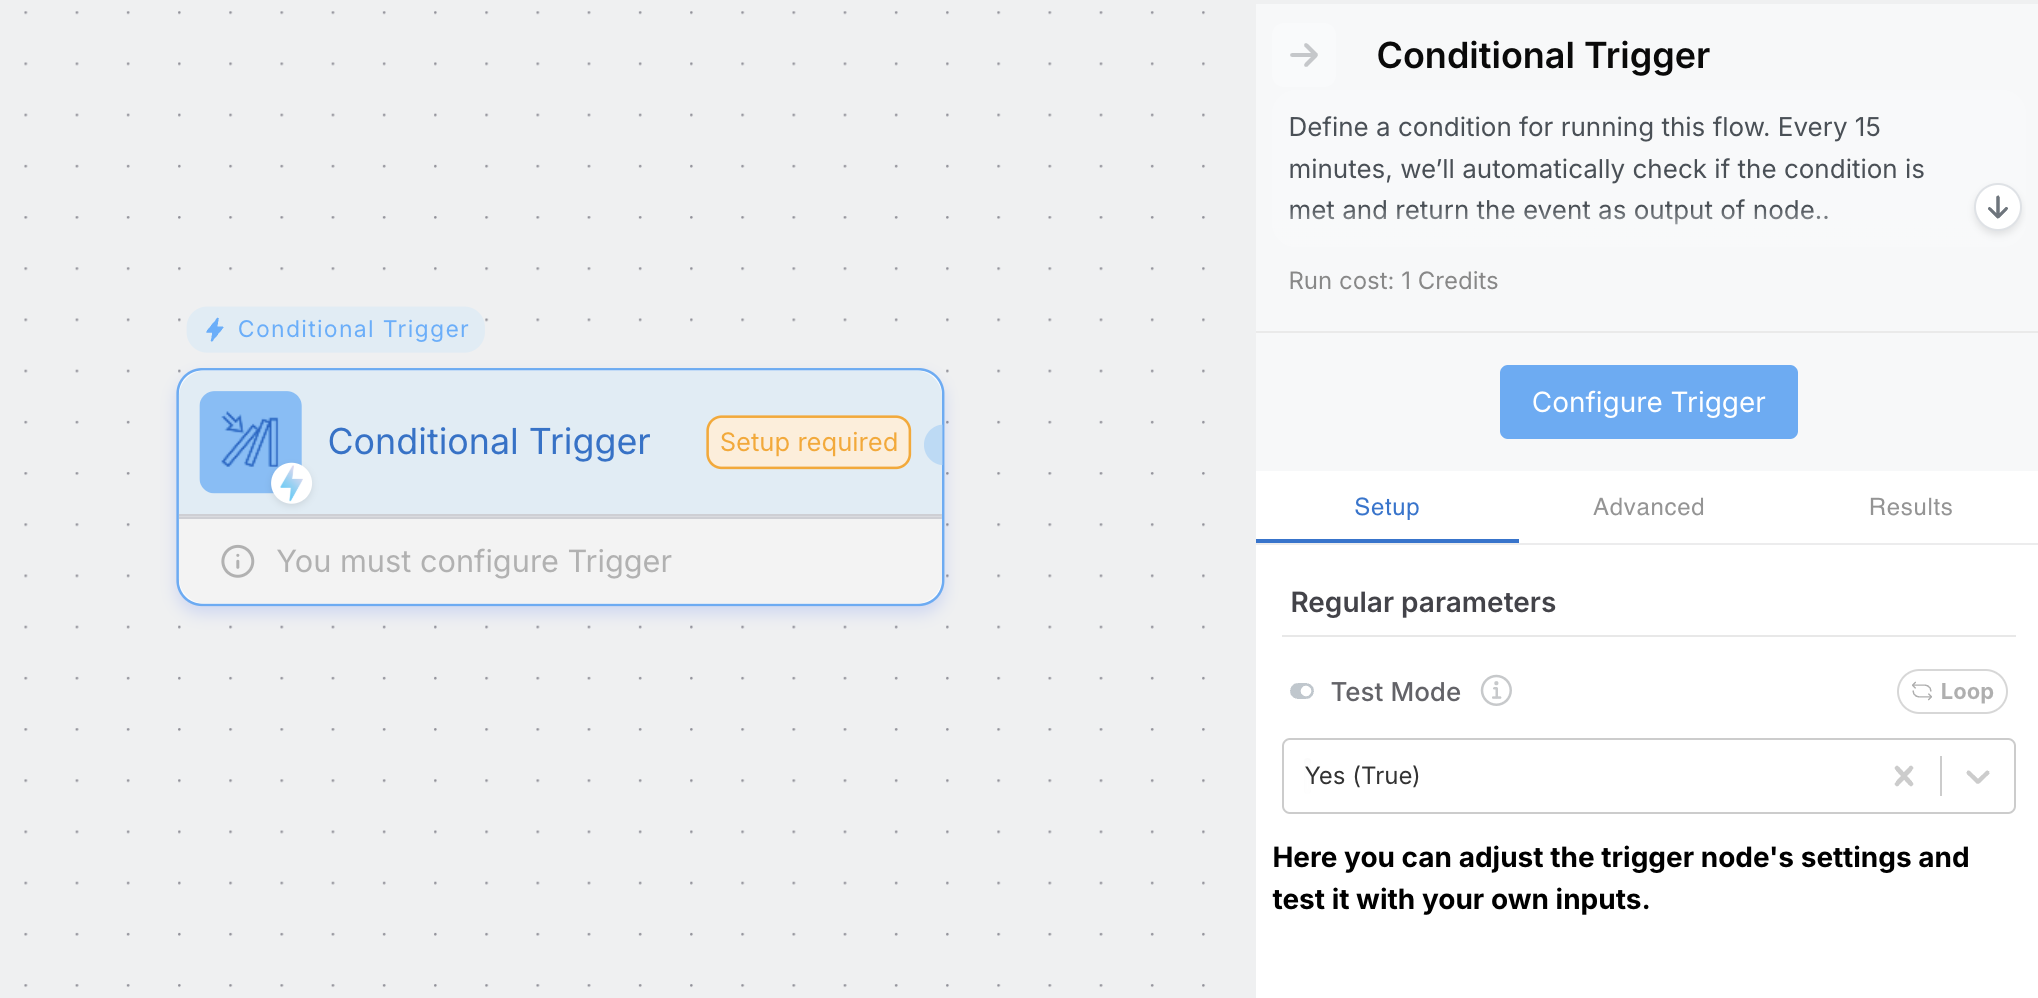 Define the condition that should trigger the flow in free text.
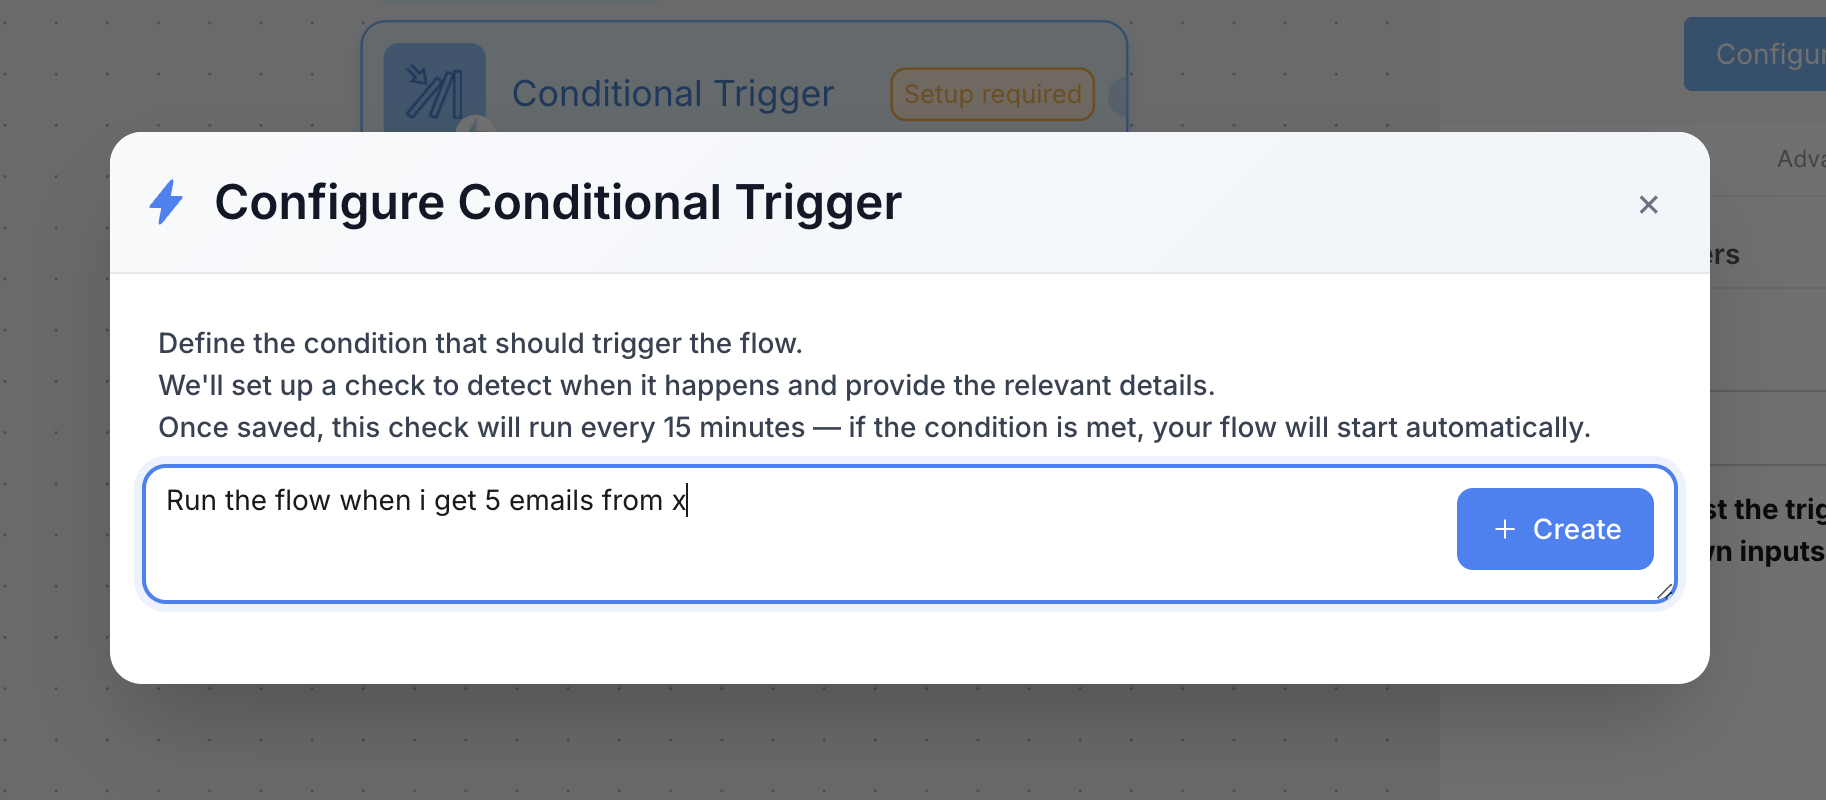 Kadabra sets up a check that runs every 15 minutes. When the condition is met, your flow starts automatically.
Use this for reactive automations like new leads, new rows, or new messages.
## API trigger
Expose your flow as an endpoint so external systems can start it.
Activating or Publishing creates an API endpoint. Choose which inputs and outputs are exposed.
Return to the API dialog to copy the endpoint URL and code samples.
Kadabra sets up a check that runs every 15 minutes. When the condition is met, your flow starts automatically.
Use this for reactive automations like new leads, new rows, or new messages.
## API trigger
Expose your flow as an endpoint so external systems can start it.
Activating or Publishing creates an API endpoint. Choose which inputs and outputs are exposed.
Return to the API dialog to copy the endpoint URL and code samples.
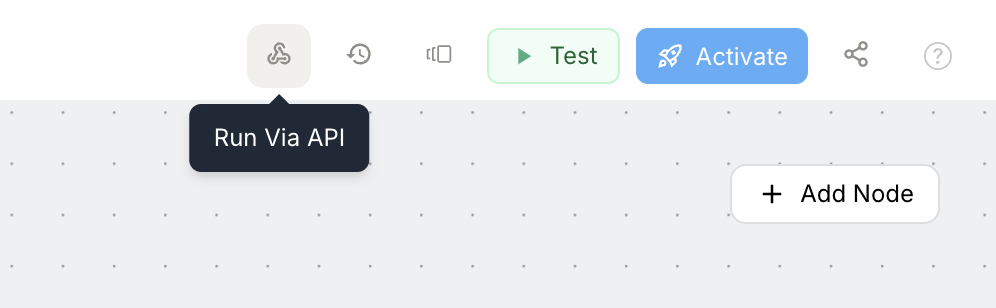 Use your API key to trigger the flow from any system.